Installation
- We strongly recommend you to install the theme on a test store first and only then move it to the live store
- Do not omit any step described in this chapter
- Do not change order of steps.
Demo store's installation
In this theme package we included sample data with settings of demo version. Follow the instructions below in order to install exactly the same store as on demo version:
- Before magento installation create empty database using phpMyAdmin or similar tools
- Import Sources/demo/dump.sql.gz into database that was created in previous step
- Install magento:
- Go to magento download page choose the latest stable full release of the Magento Community Edition and download it
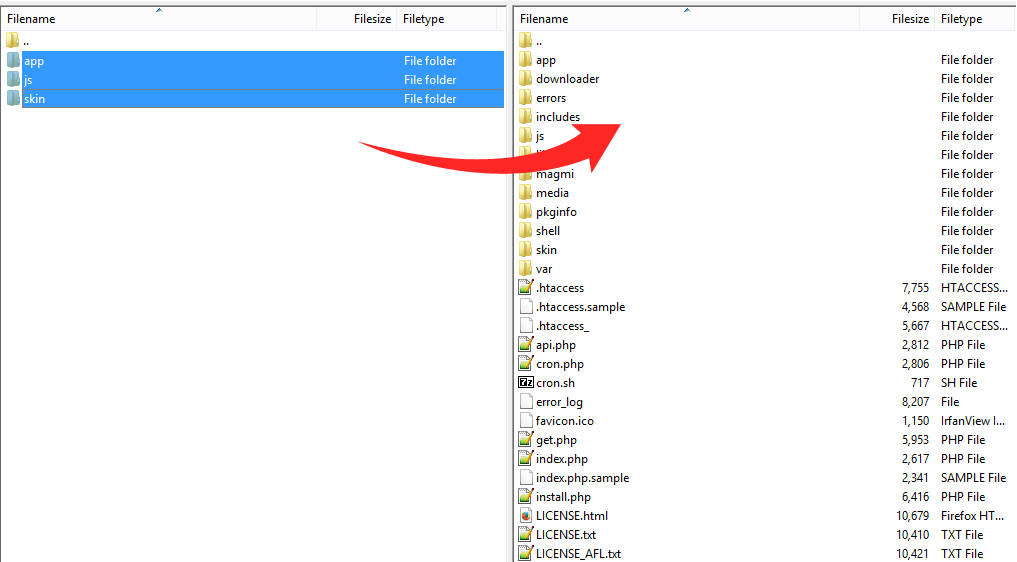
- Upload and unzip downloaded file with magento to the folder on your server where magento should be installed
- Open browser and proceed to the folder where magento was unzipped and load default Magento setup wizard
- Follow the wizard's instructions and finish magento installation
- When the demo store with demo sample data is installed follow successively the steps that were described in sections: "Prepare your magento", "Upload the theme files", "Install the theme"
Prepare your magento
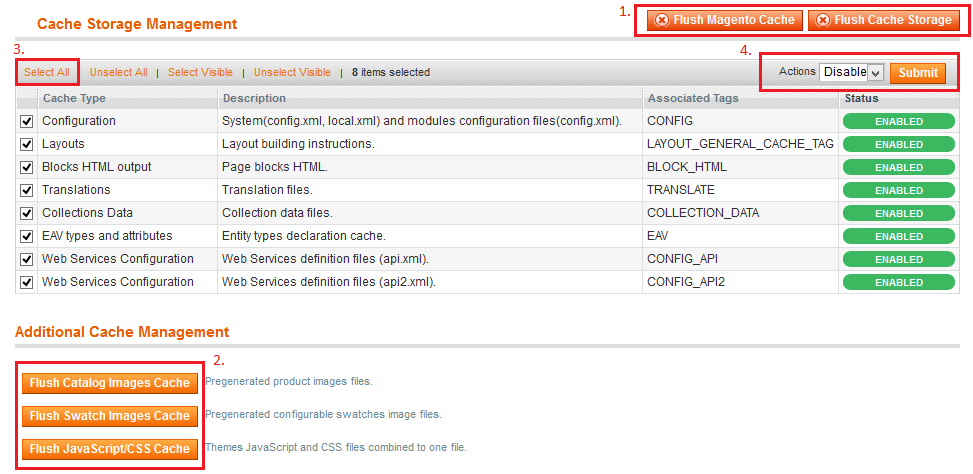
- Refresh and Disable all the Magento cache
- Reindex magento data

After making any changes to magento data (products, categories) you should reindex the data. To get it done go to System -> Index Management
- Backup Magento files and the store database
- Disable compilation mode
- Disable Merge JavaScript and CSS Files
- Log out from Magento admin panel
When configuring your store, whatever theme or anything else you should refresh all the Magento cache and then completely disable it. To get it done go to System -> Cache Management
It saves lot's of your time if something goes wrong. To create backup go to System -> Tools -> Backups
To get it done go to System -> Tools -> Compilation
To get it done go to System -> Configuration -> Developer
It must be done to refresh the magento access control system
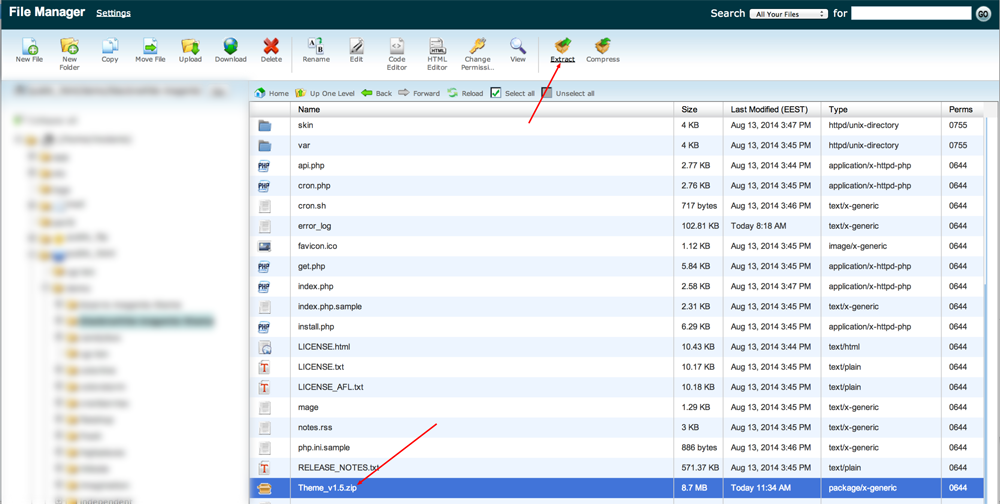
Theme files uploading
Install the theme
Manual installation is the only right way of theme's installation if you prefer to install theme on live store
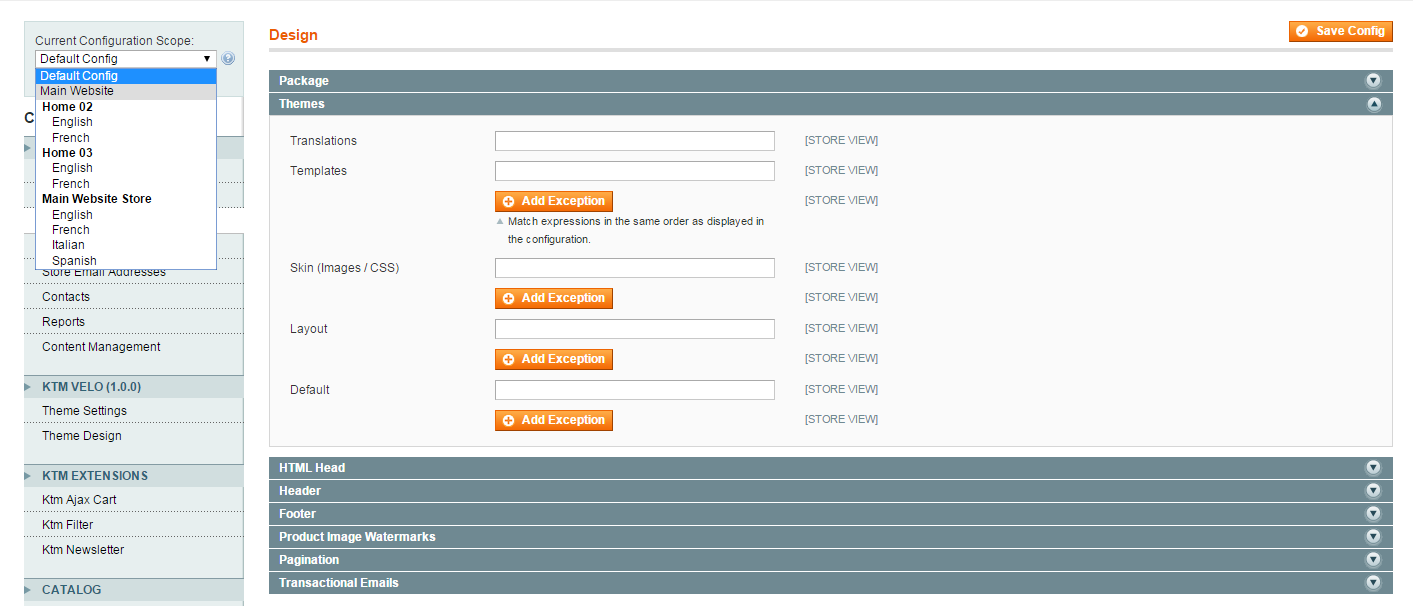
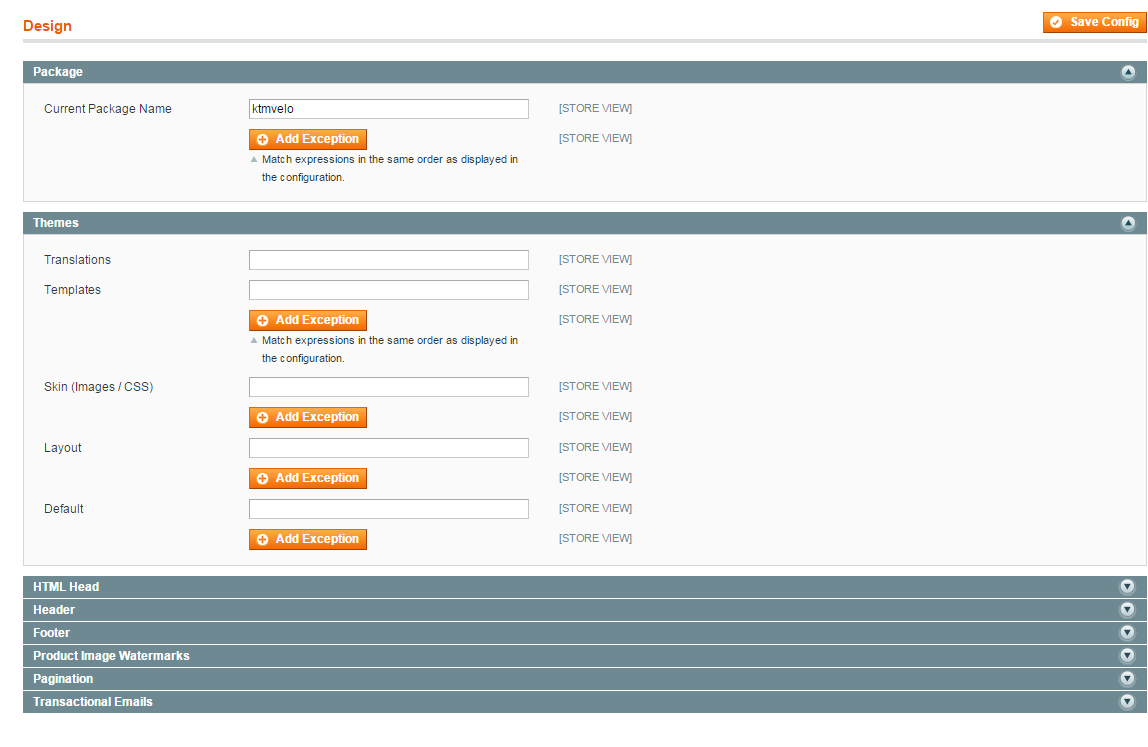
- Go to System -> Configuration -> Design page of your admin panel and set the field "Current Package Name" as Velo. Click Save Config button
- Import static blocks, pages and widgets
If you want to use one of available Velo demos, navigate to section Homepages of current theme documentation where we add step-by-step instructions of subthemes configuration.
Import CMS
The Velo has some predefined static content, widgets which must be created manually
Adding of CMS Pages
All used pages you can find under Sources/Static Content/Pages, where <FILE NAME> - id of page, <FILE CONTENT> - content of page. Your pages may have any title, and any url key. To set up CMS pages, you follow the instruction below.
How to create a page
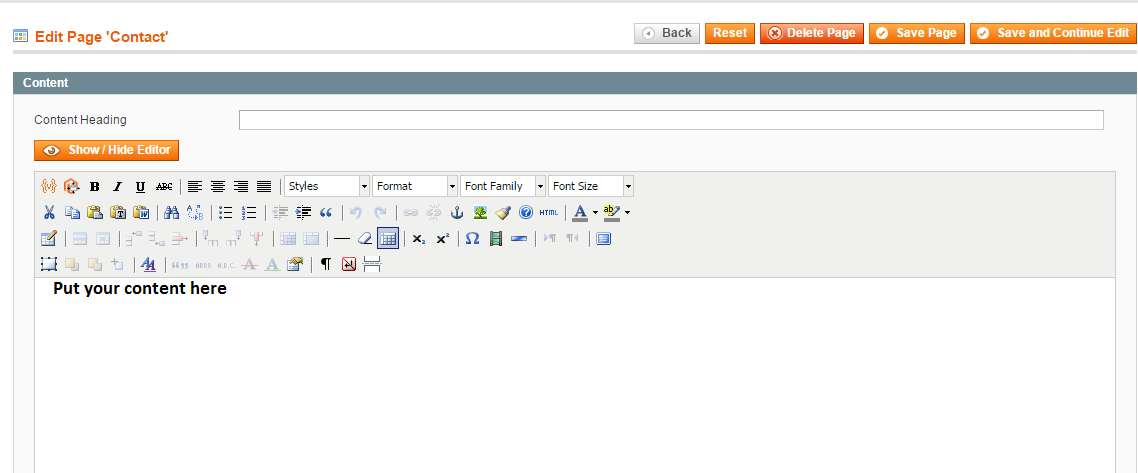
To create a page with same content as on demo you need to go to CMS -> Pages and open the active page you want

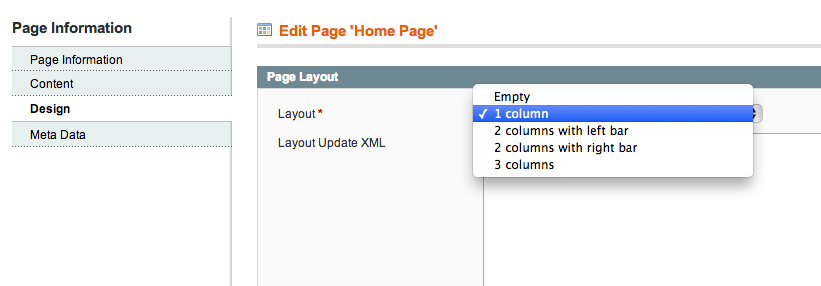
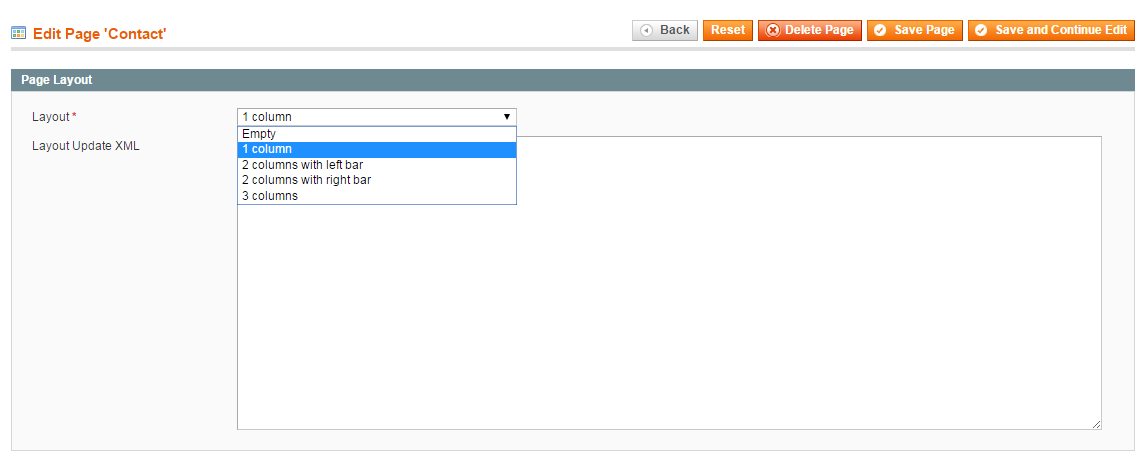
Go to the "Design" tab and set "1 Column" layout.
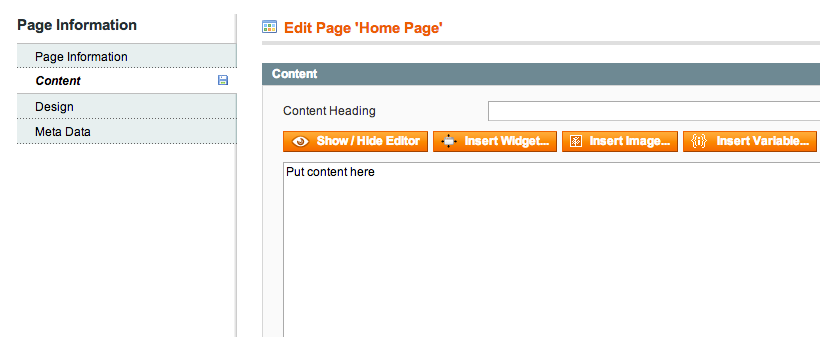
Go to the downloaded package Our fullpackage/static content/pages/home.txt and put content from that file into "Content" section in the admin panel.
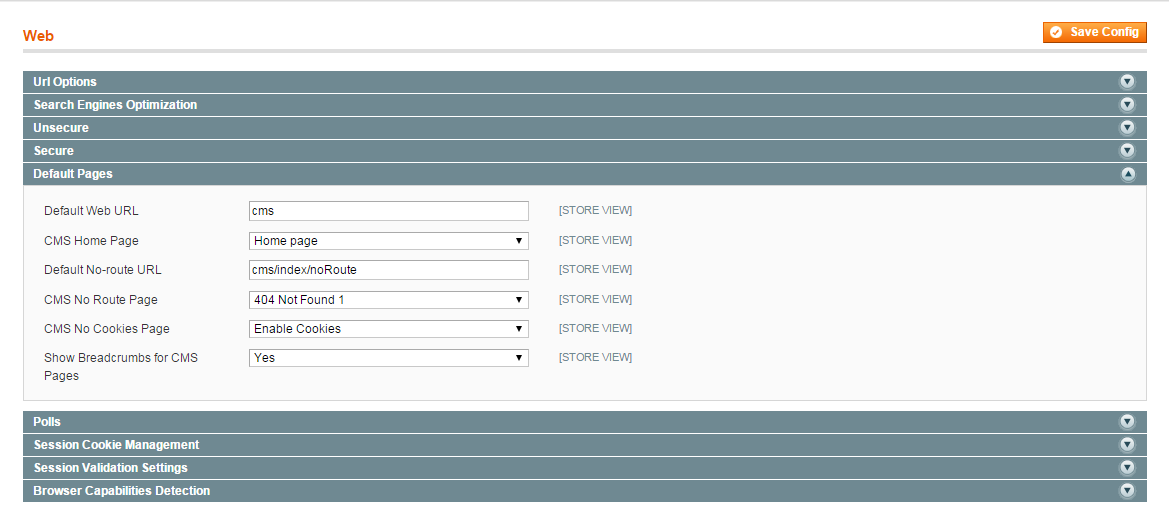
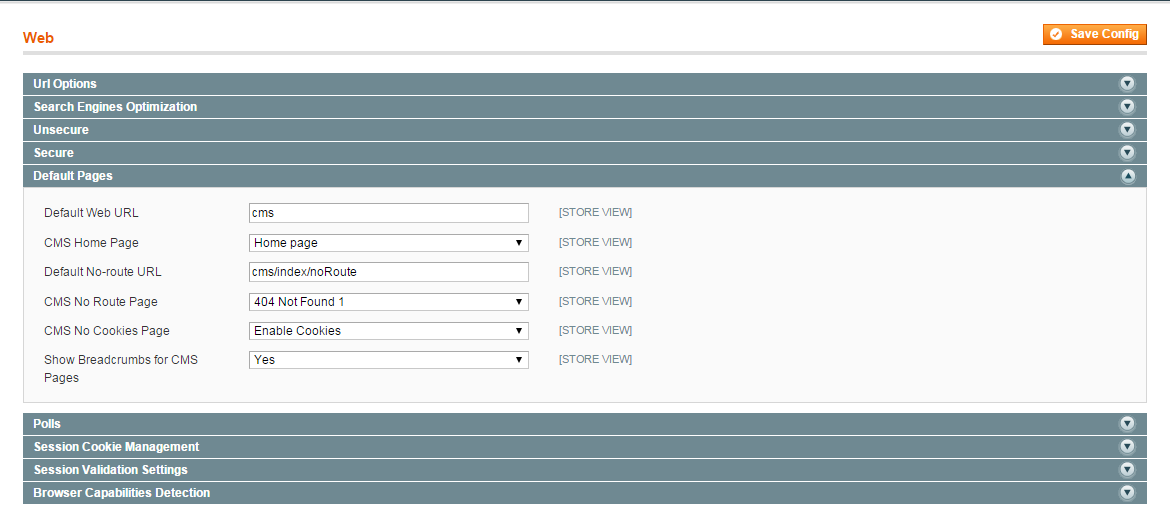
Make your cms page as home page under the System -> Configuration -> Web -> Default page
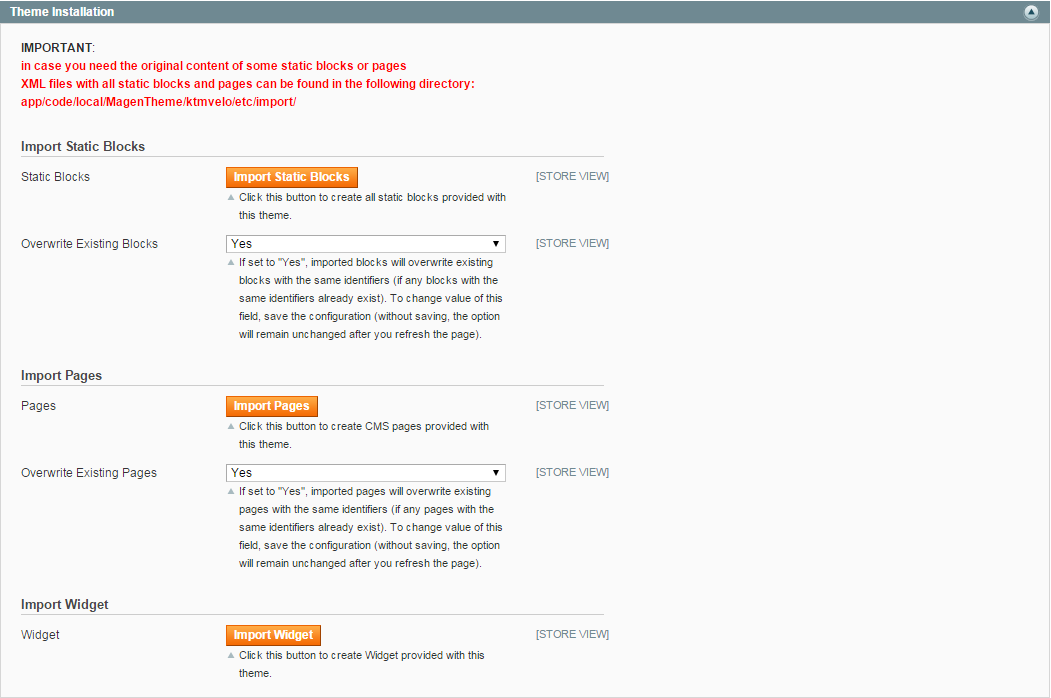
To import Widget, you also can navigate KtmCore >>> KtmVelo >>> Ktm Settings >>> Theme Installation, click to button to create CMS pages provided with this theme

Adding of Static Blocks
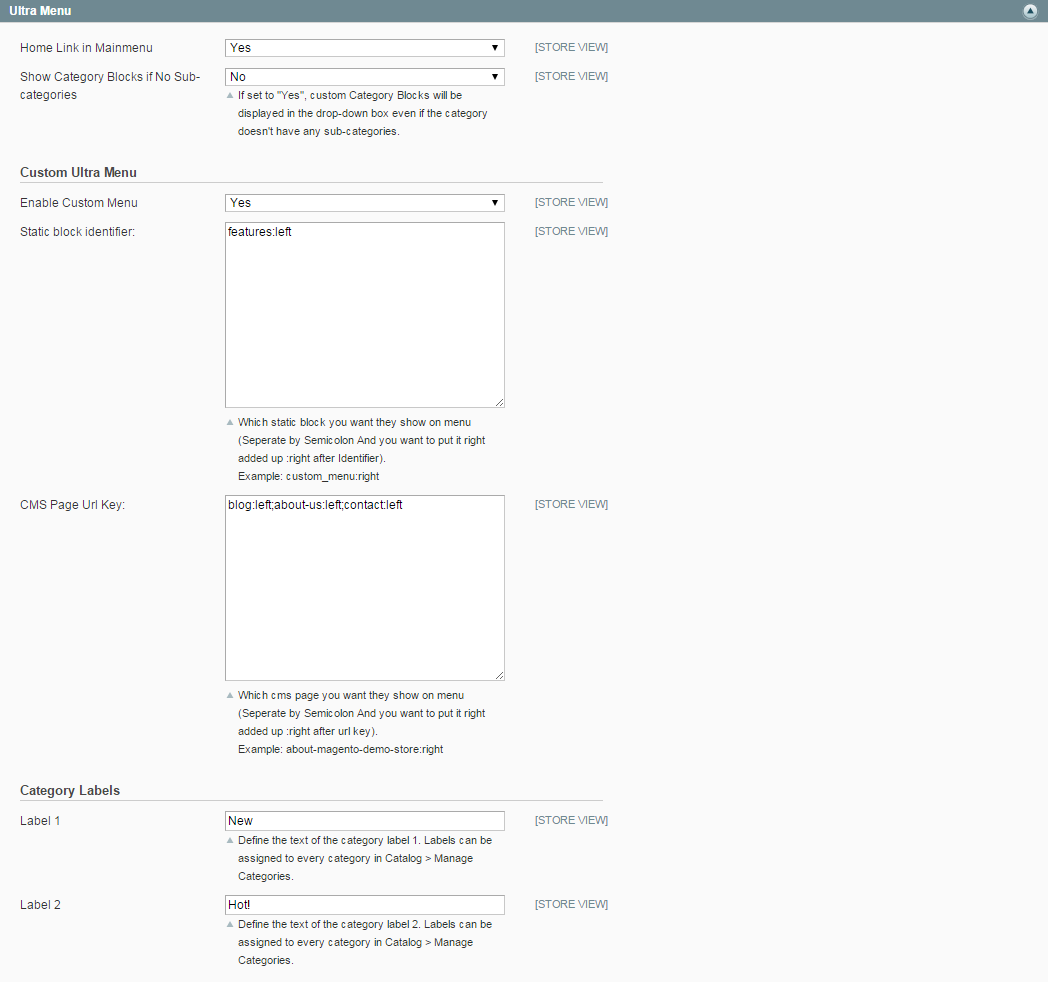
All used static blocks you can find under Sources/Static Content/Blocks, where <FILE NAME> - id of static block, <FILE CONTENT> - content of static block. Your static blocks may have any title. Id of static also may be changed, but in that case you will need to specify what static block should be used in theme options. Below is the part of default theme and responsible for that part of static blocks:
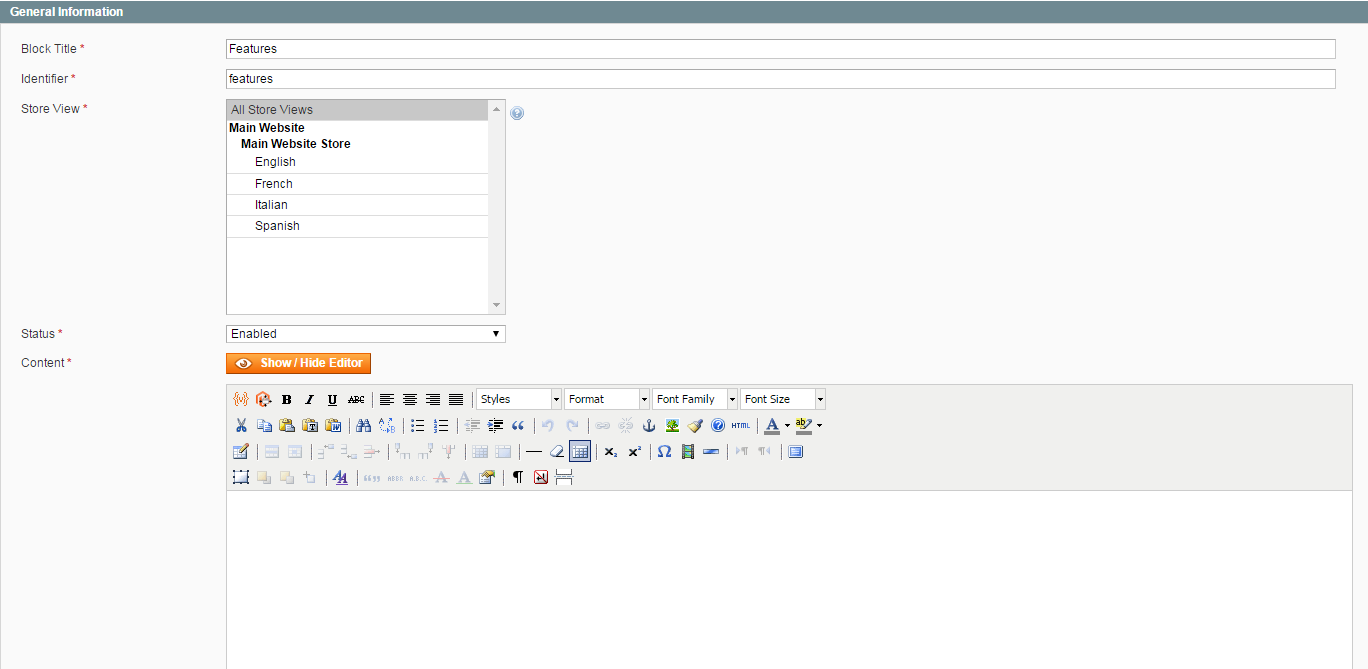
To manage static blocks, go to CMS >>> Static Blocks section in the admin panel. To create a static blocks, go to CMS >>> Static Blocks, click Add New Block button and follow these steps:
- In identifier field enter an identifier of one of the static blocks. Make sure the identifier is lower-case and seperated by underscores to follow Magento's standards
- Enter the title in Block Titke
- Select the Store View to which this block will apply
- Select Enabled in the Status field. Disabled means that the block is not displayed in the frontend.
- Insert your Content(it can be text or HTML) and click Save Block.
Here's an example:
To import Static Blocks, you navigate KtmCore >>> KtmVelo >>> Ktm Settings >>> Theme Installation, click to button to create all static blocks provided with this theme

- Velo_menu - is used for the image in menu:

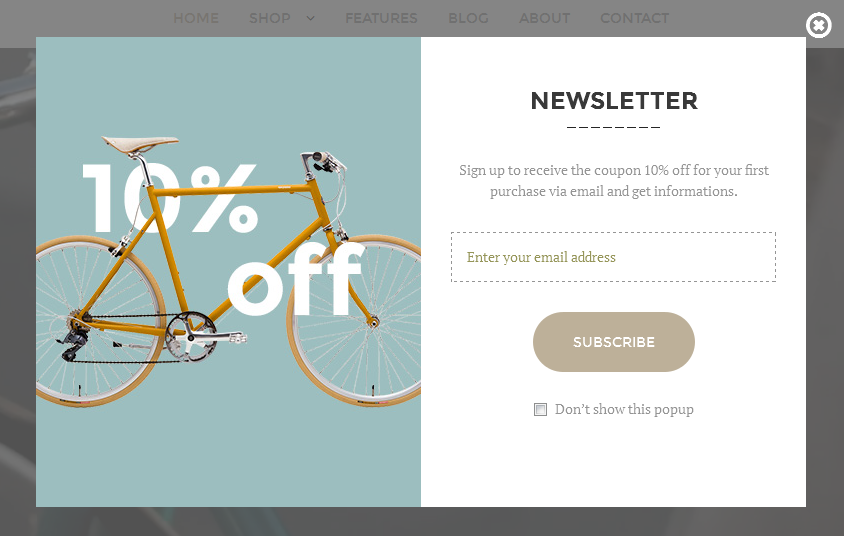
- Velo_popup_content - used for the welcome popup with subscribe form:
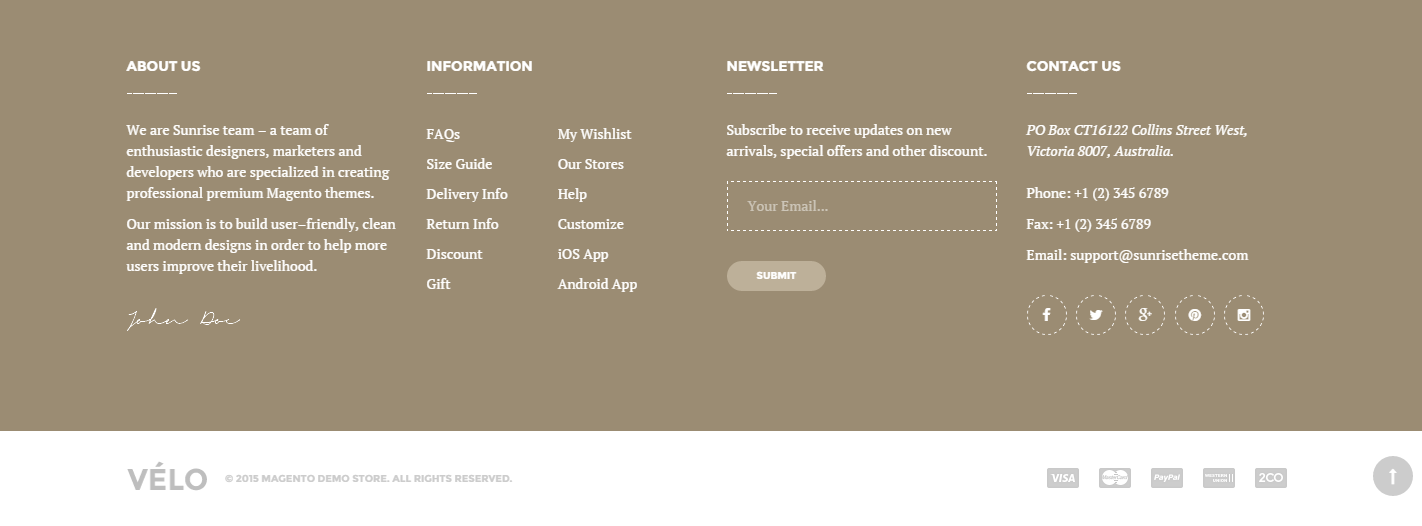
- Velo_footer - is used for the store footer:
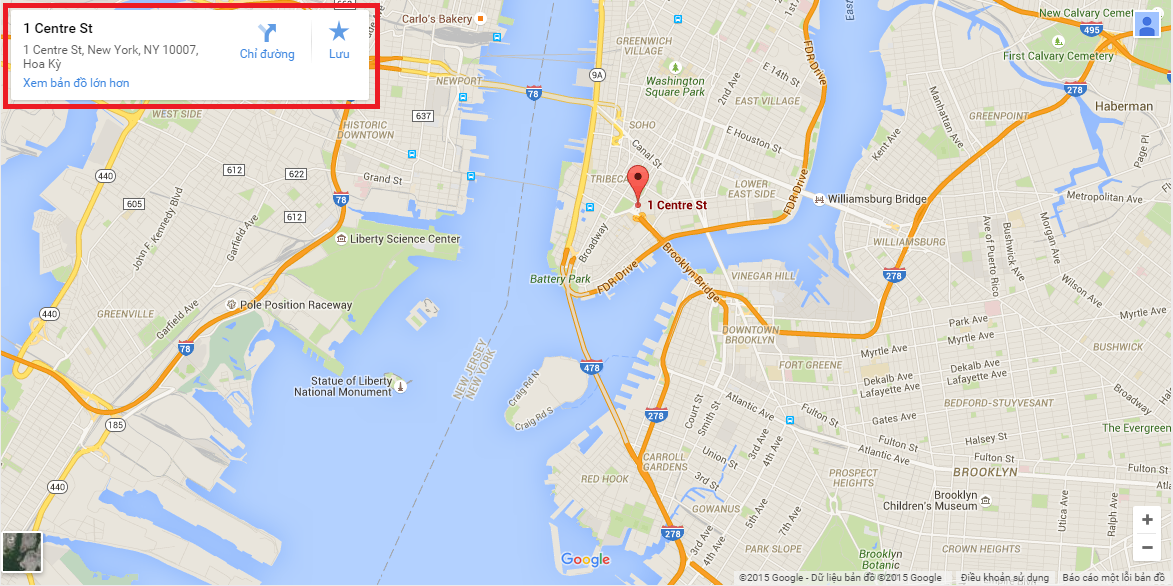
- Velo_contact_map_block - that is block which shows detailed information about store location and it is displayed over contact map on contact us page:
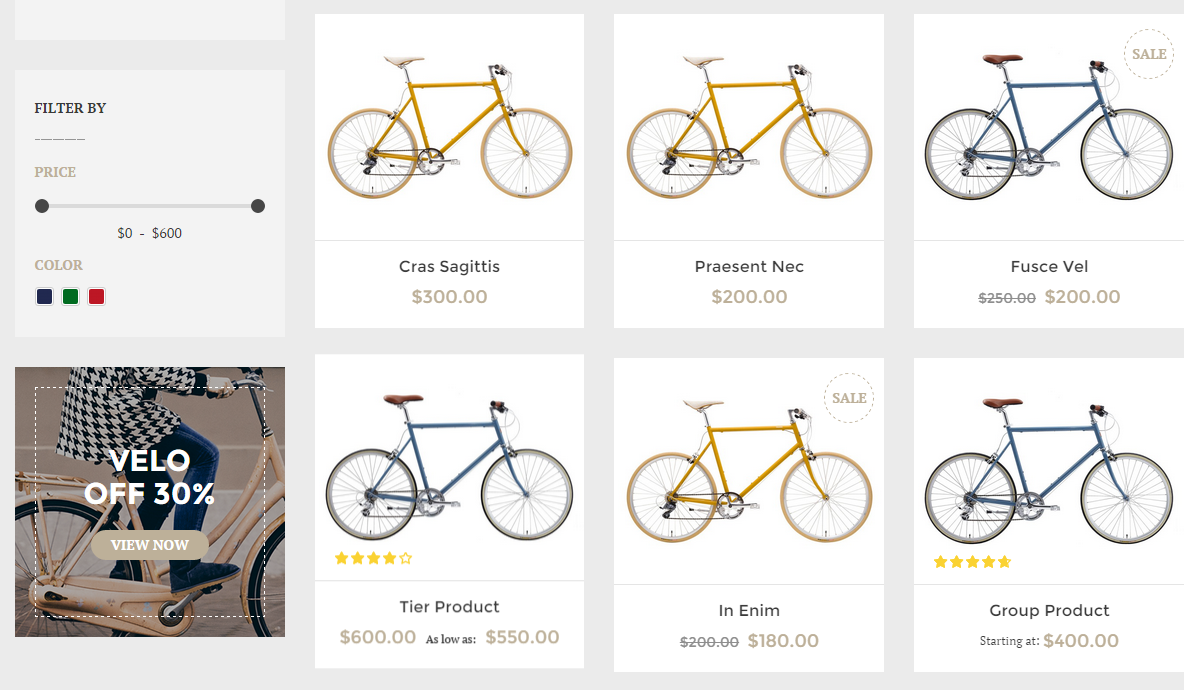
- Velo_sidebar_banner - is used for the image in sidebar:
Adding of Widgets
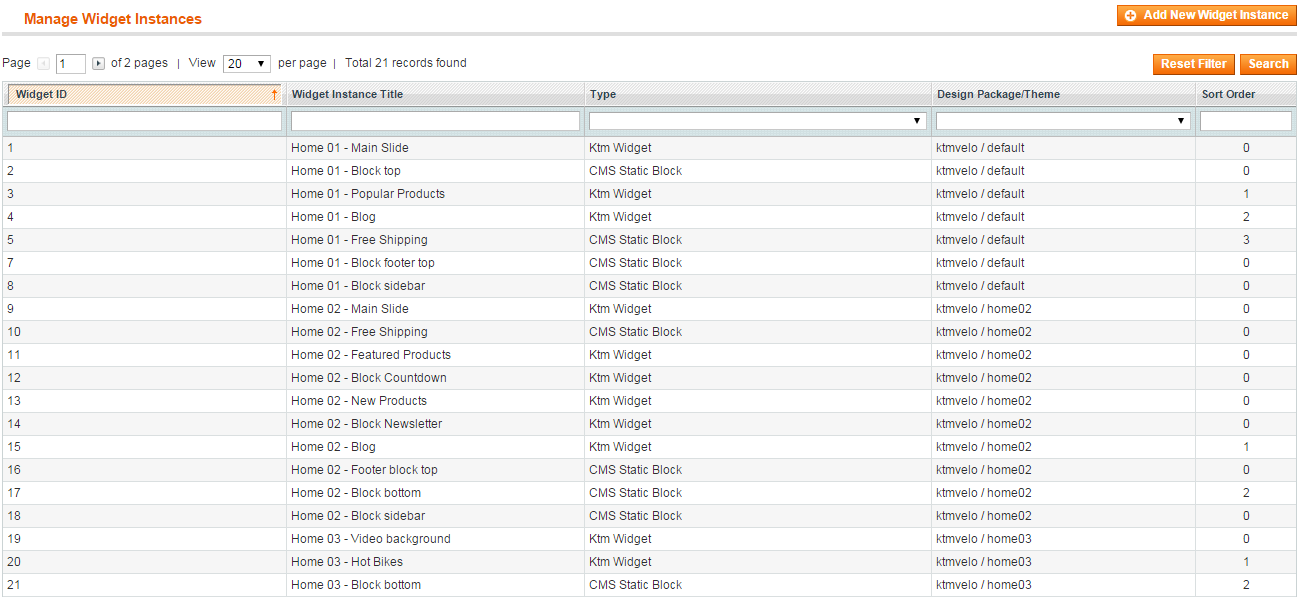
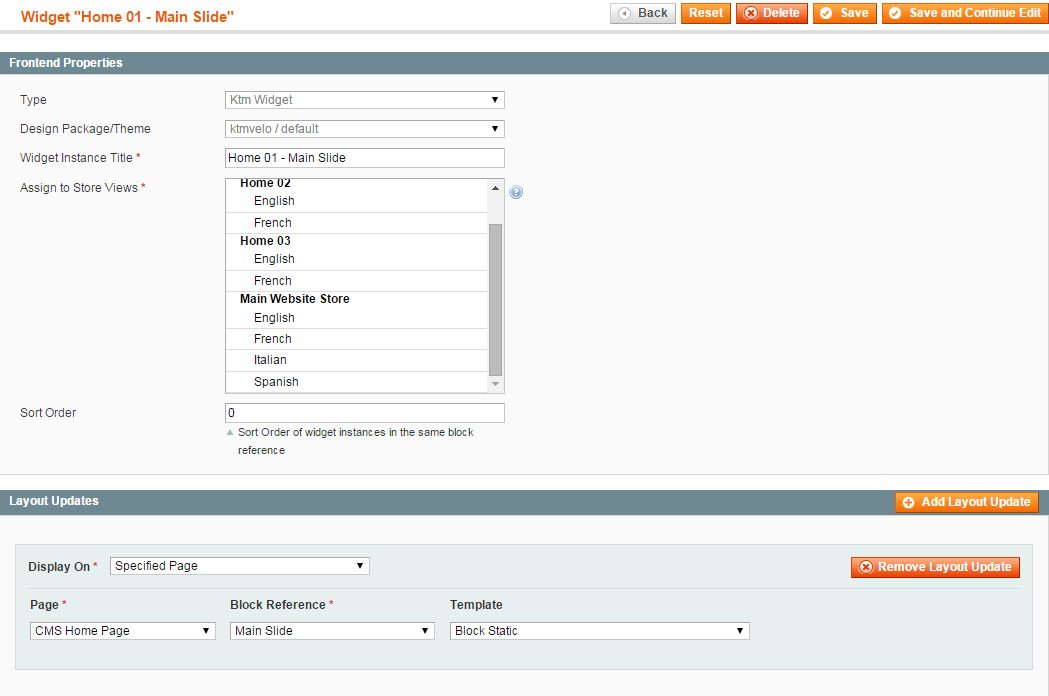
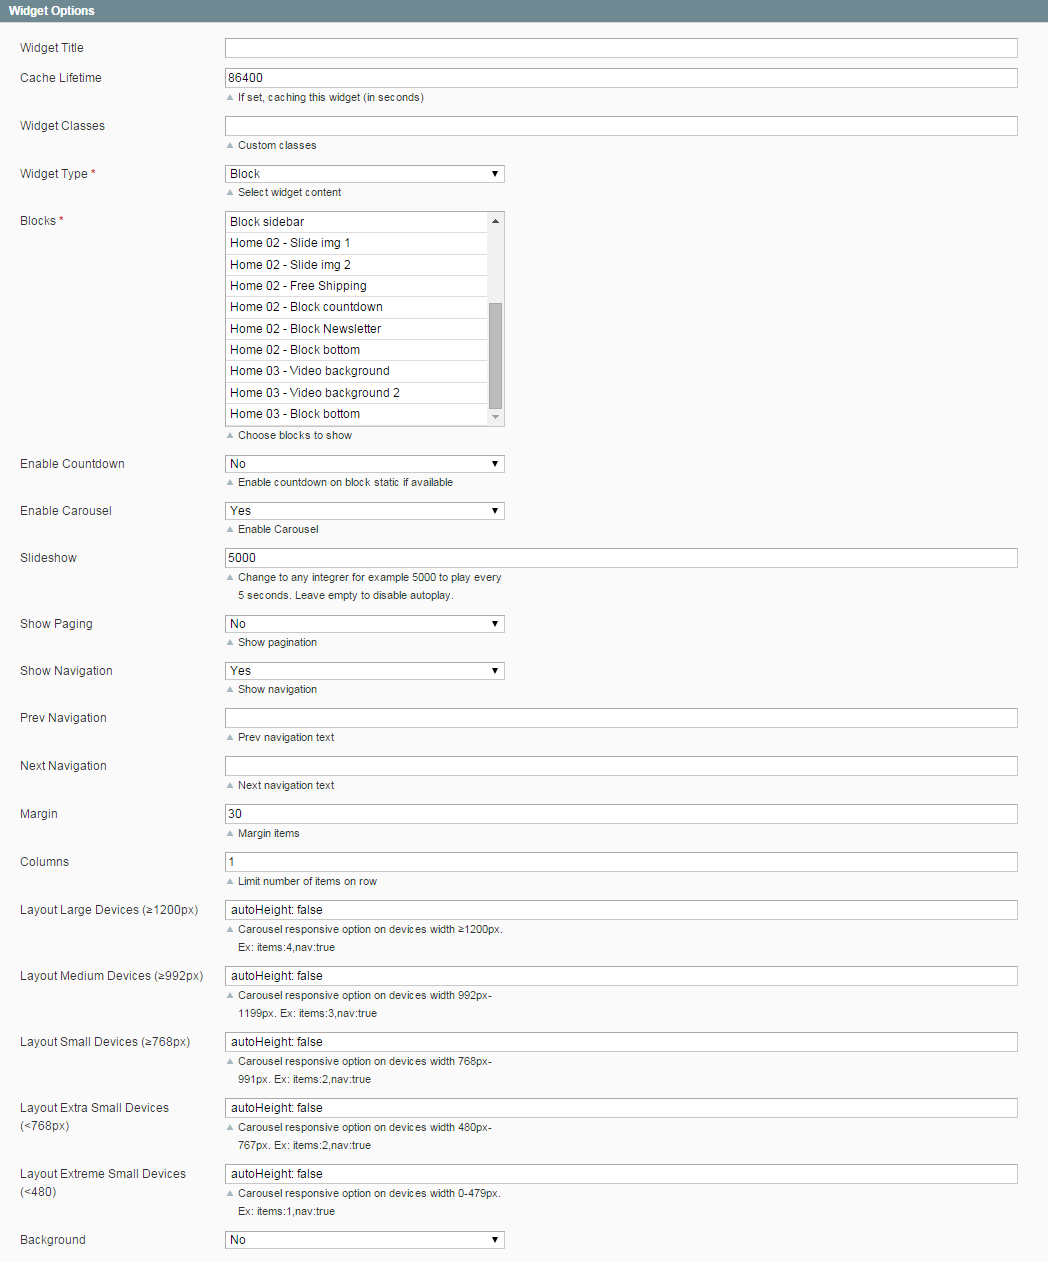
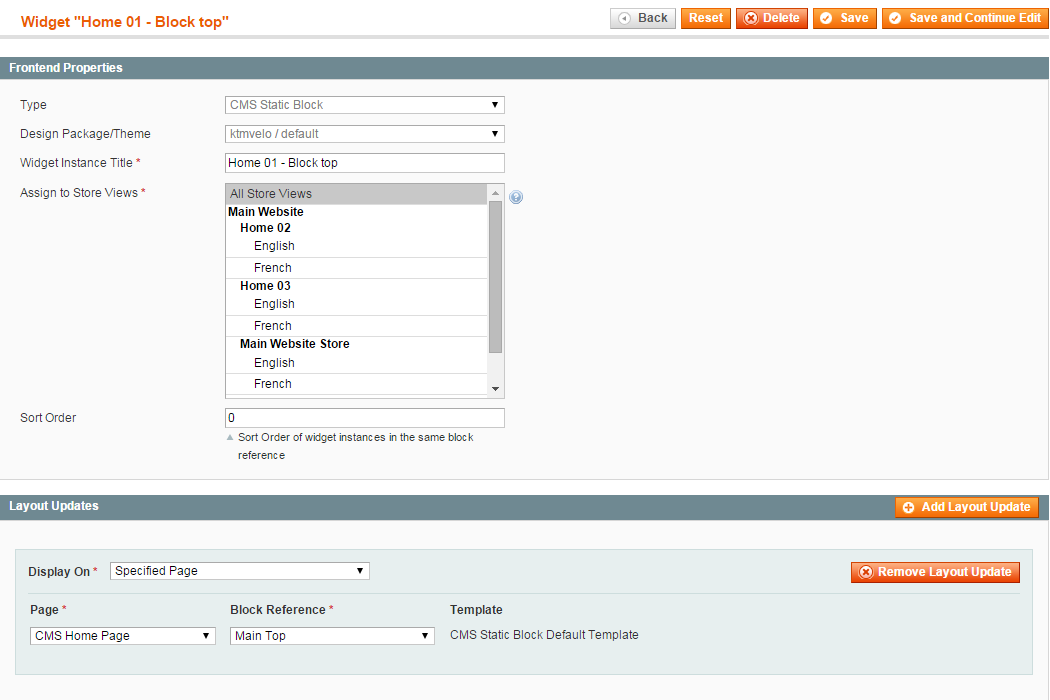
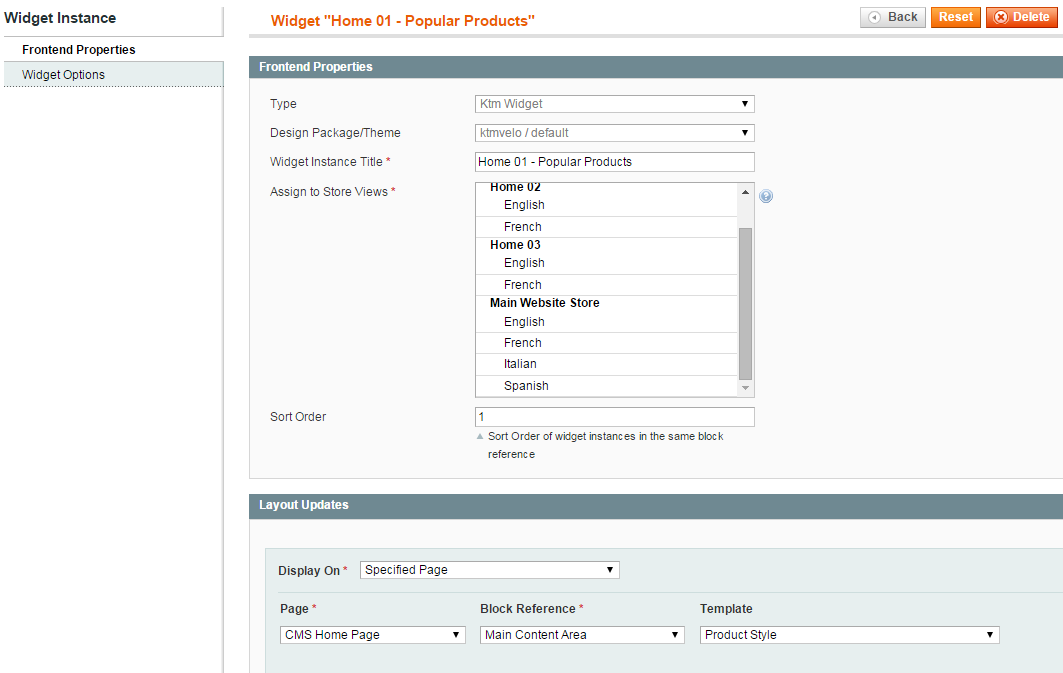
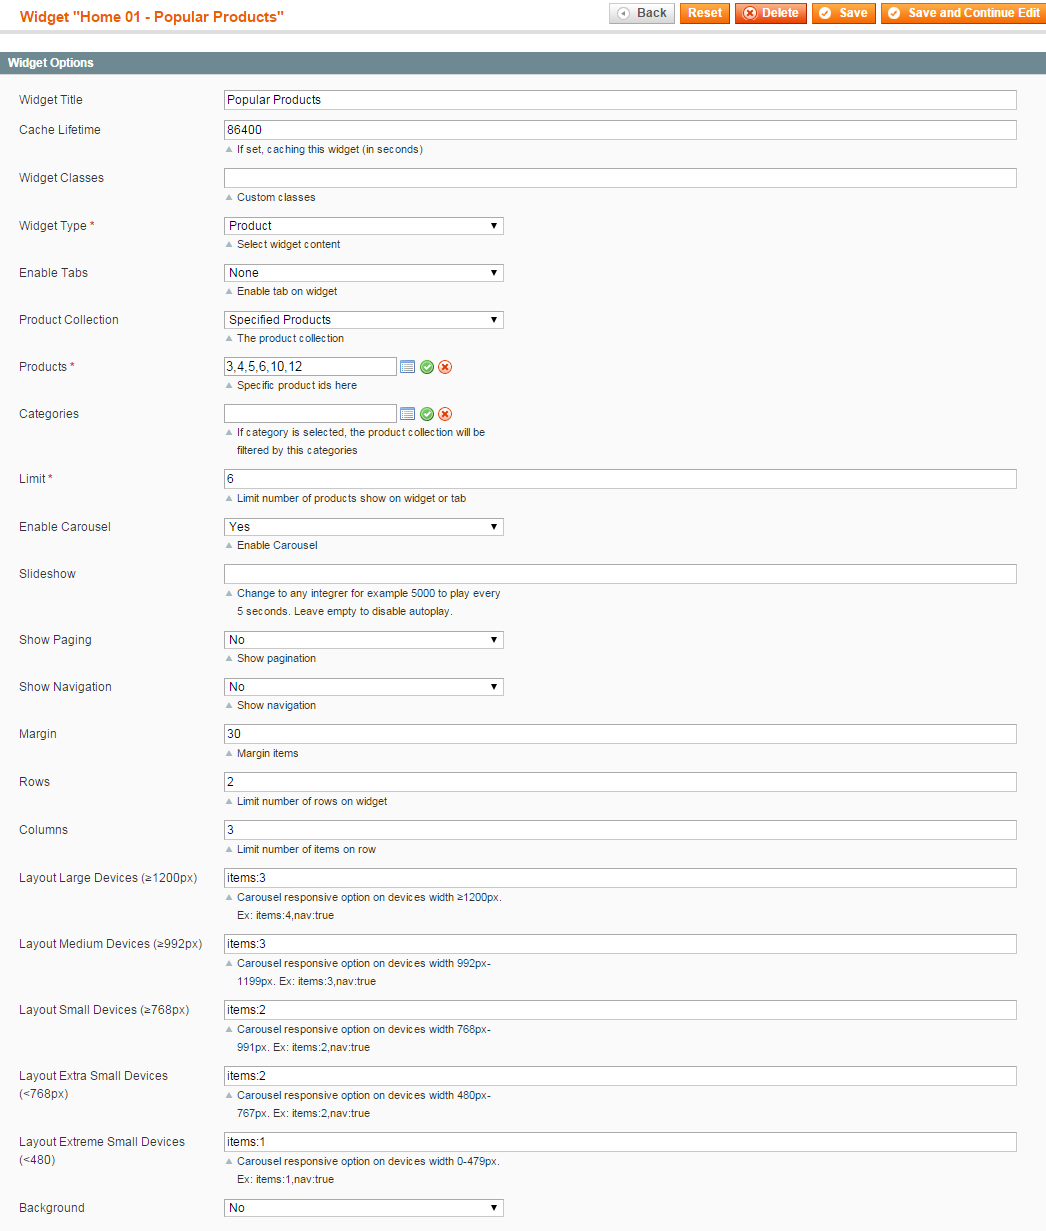
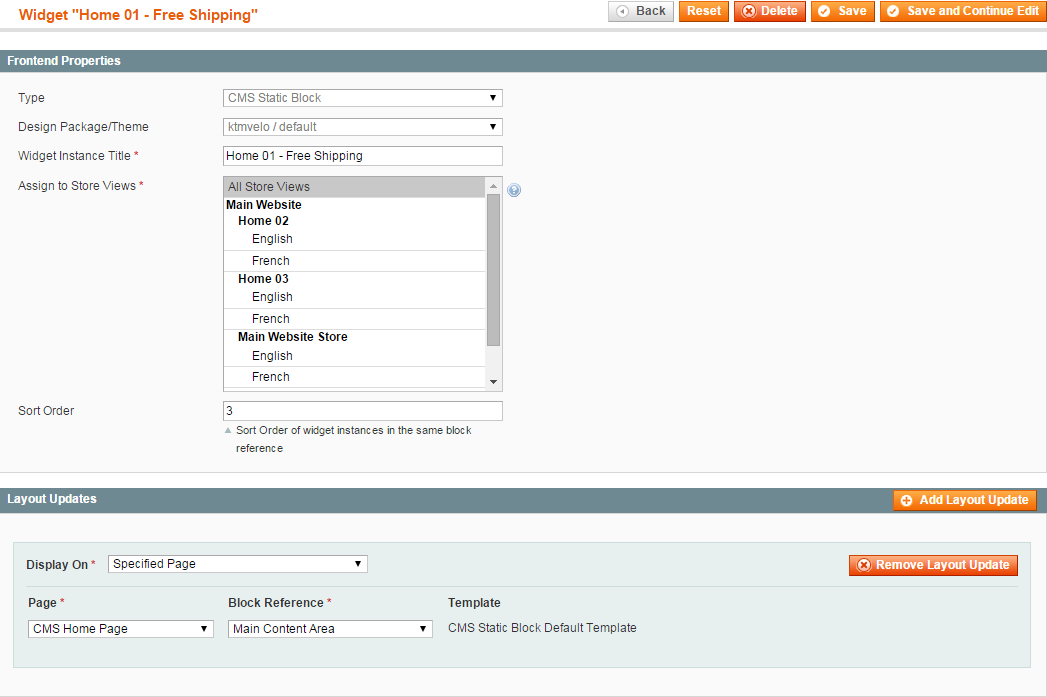
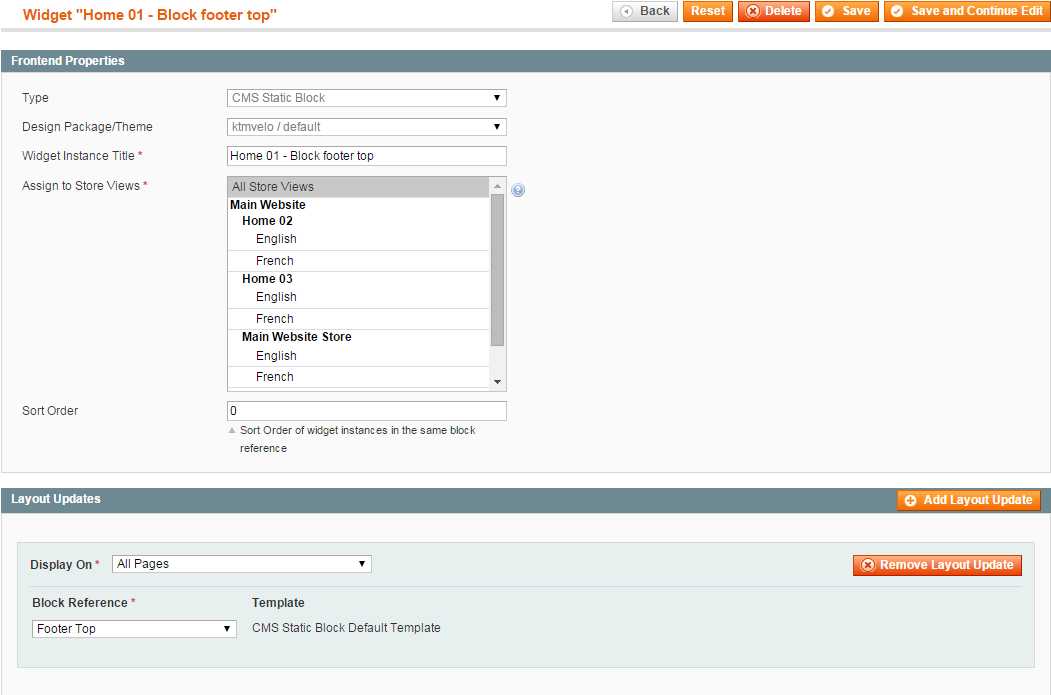
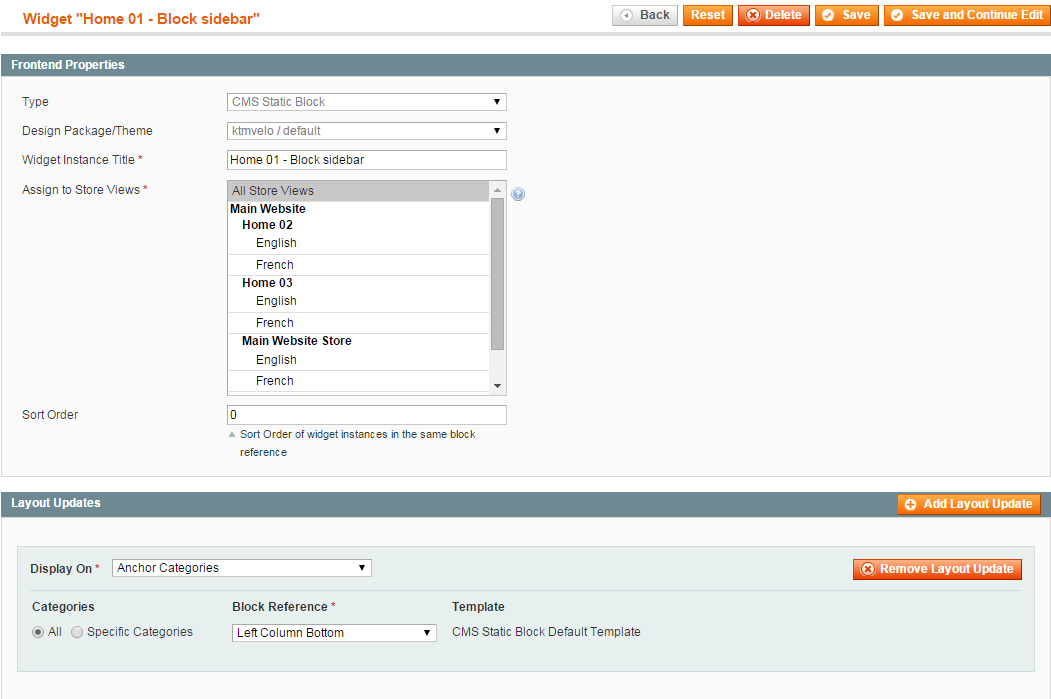
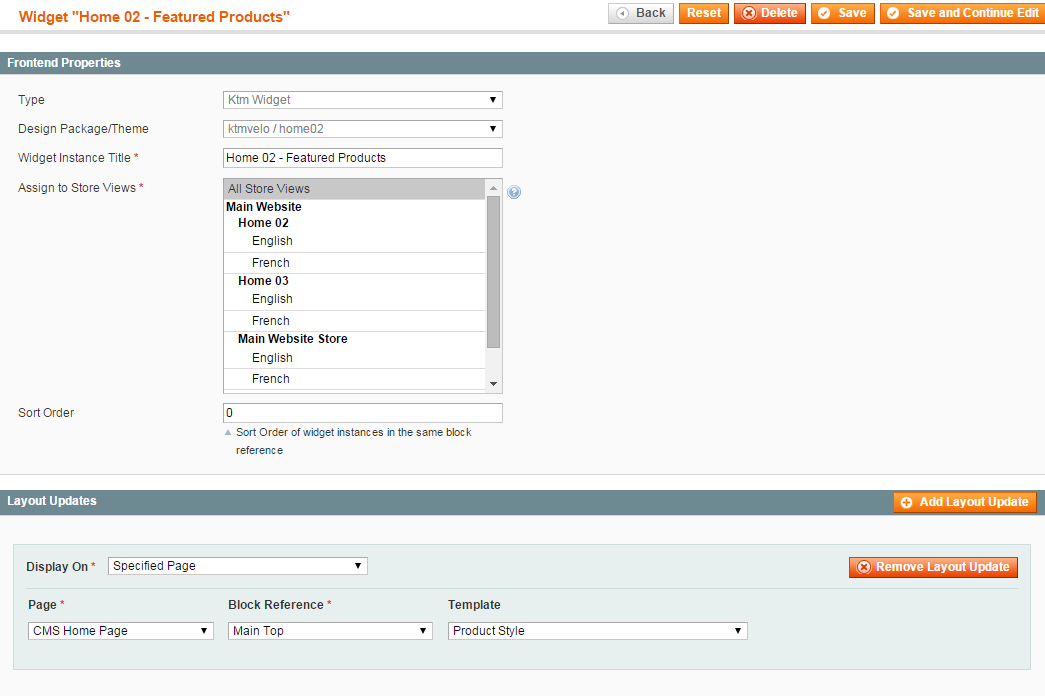
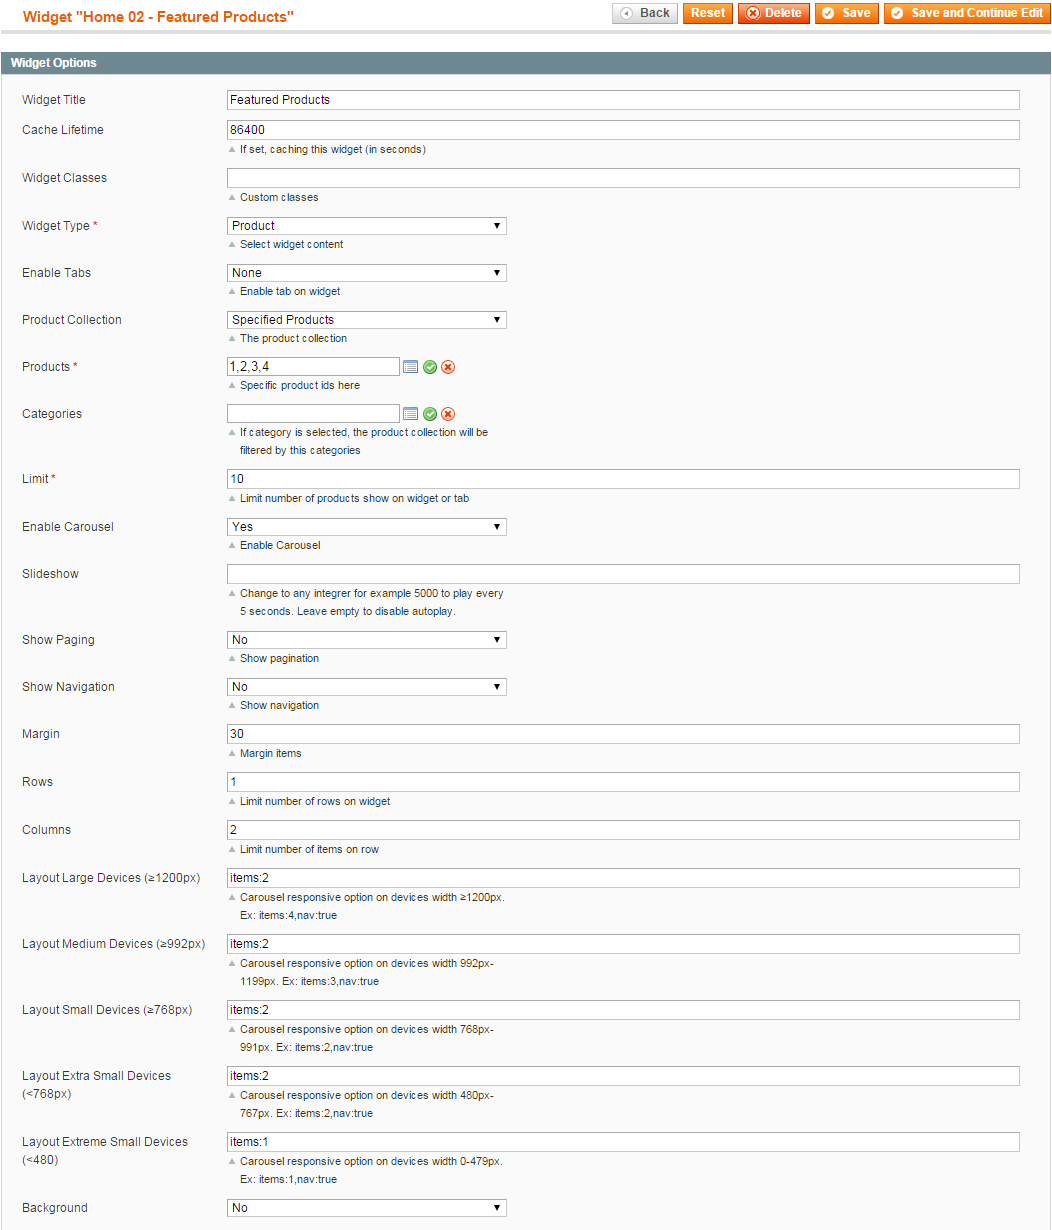
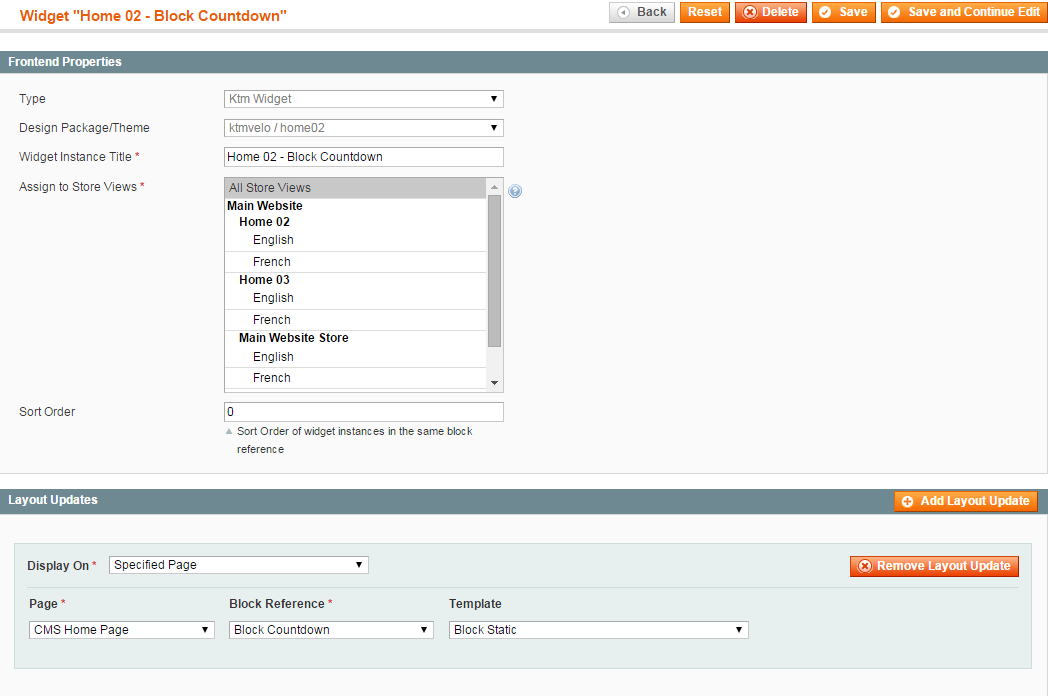
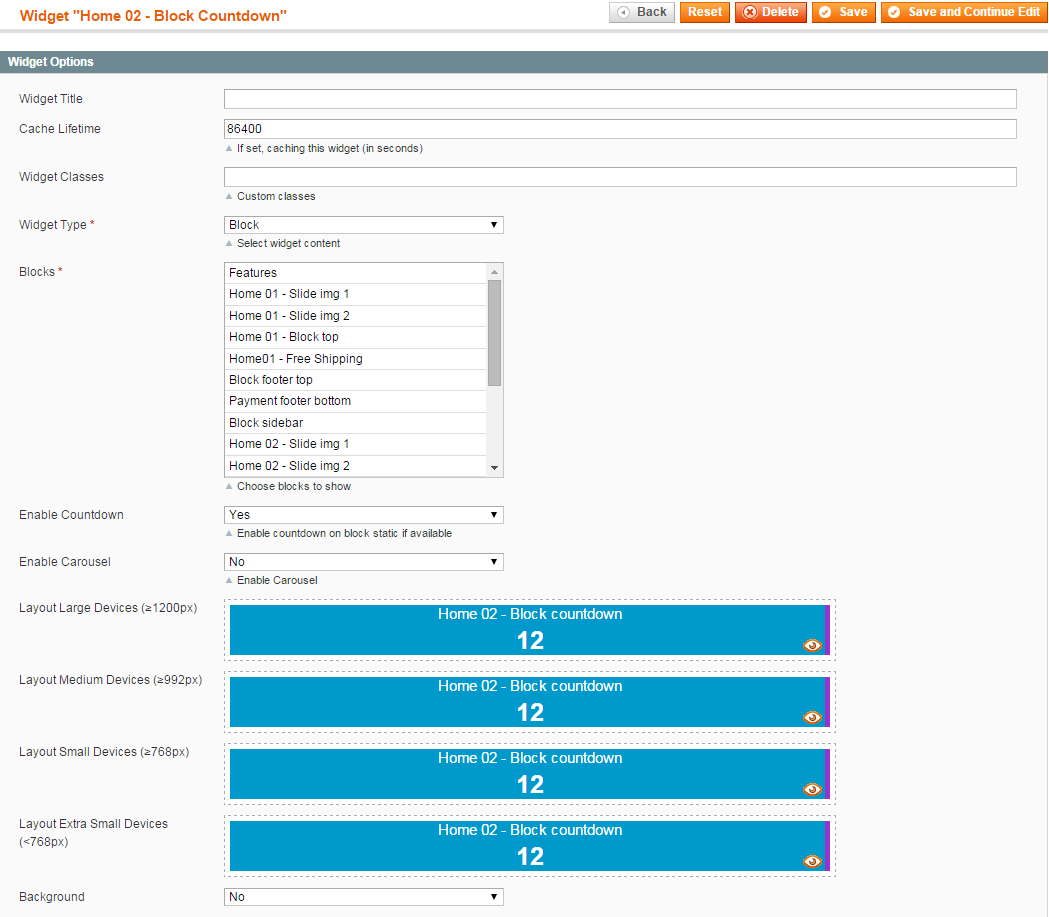
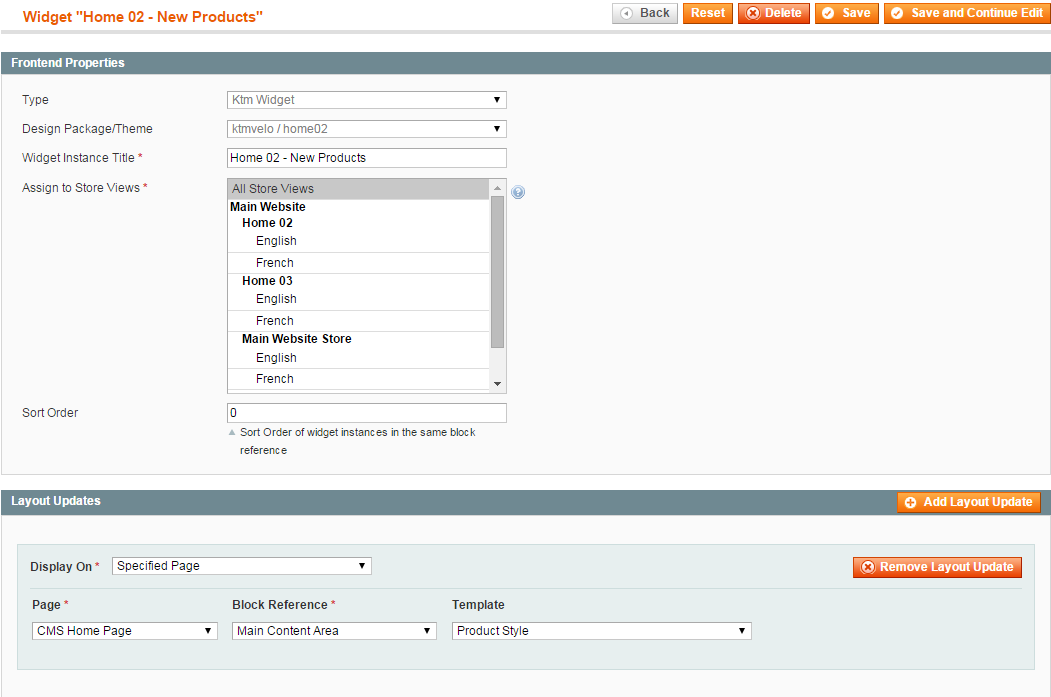
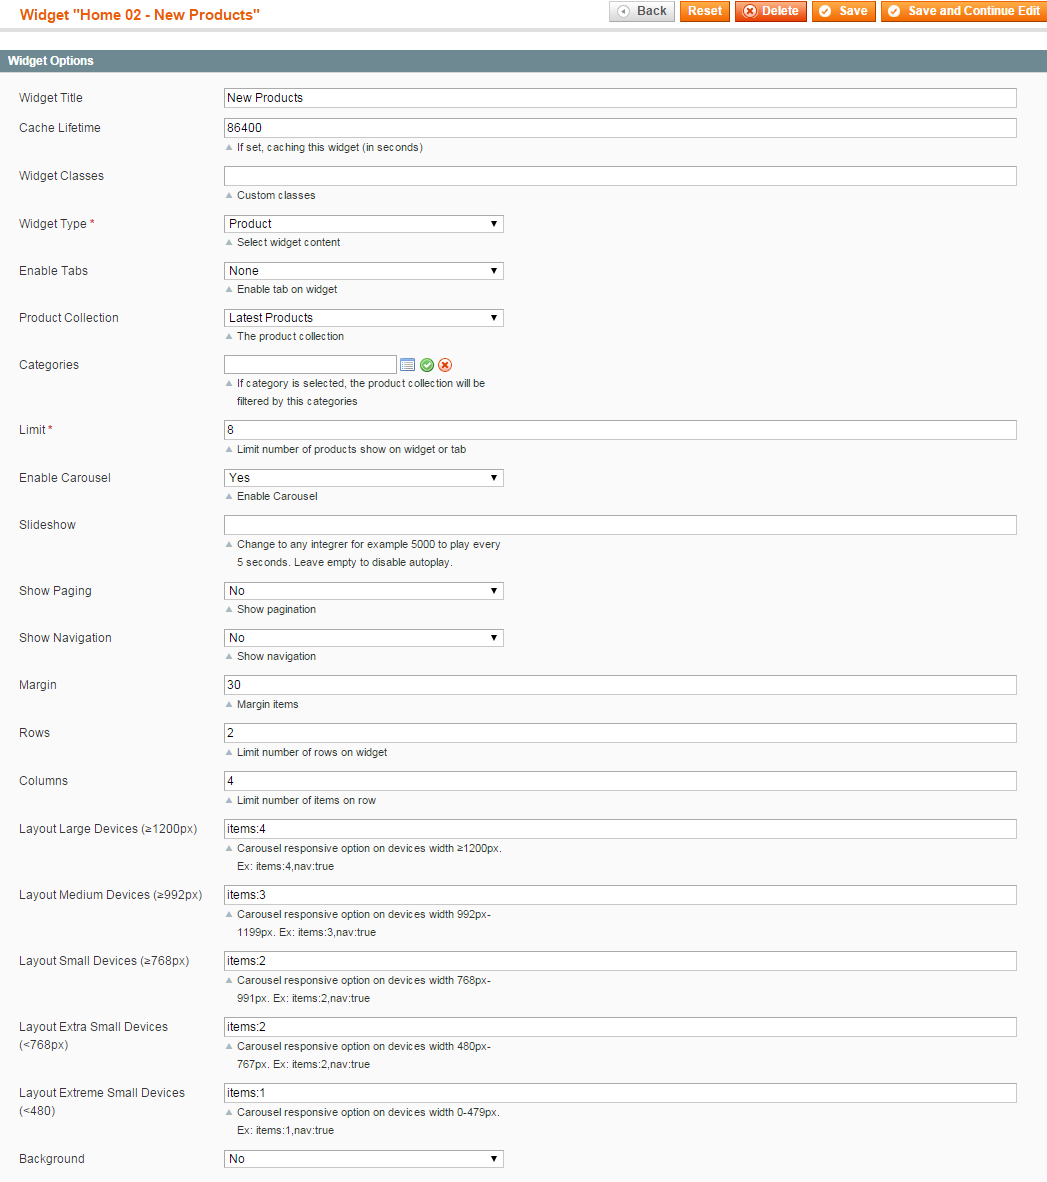
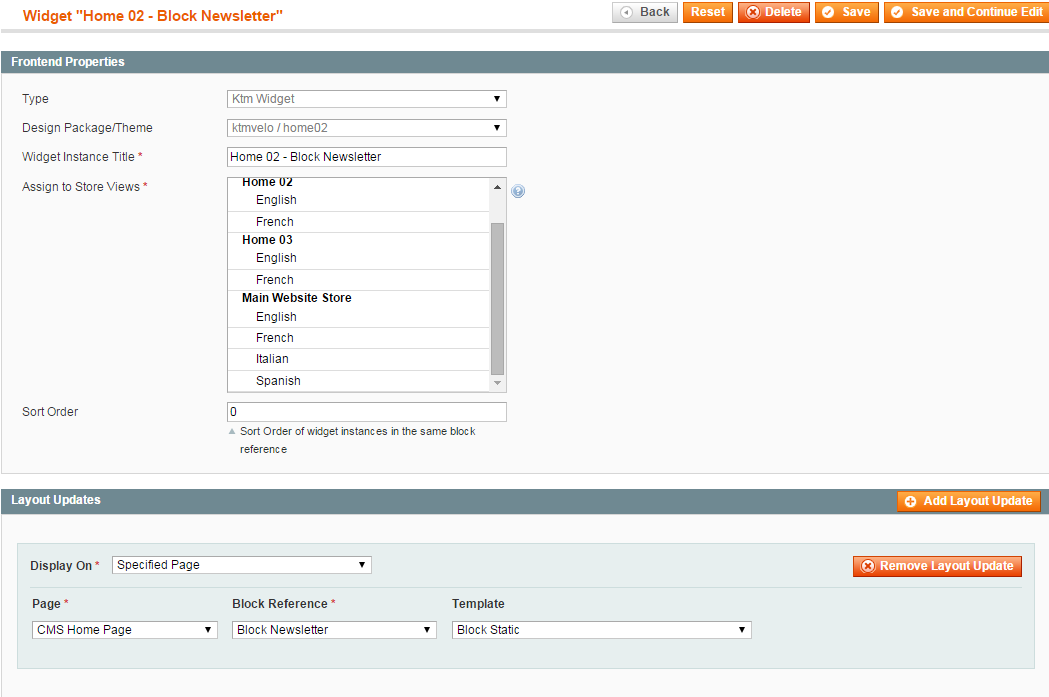
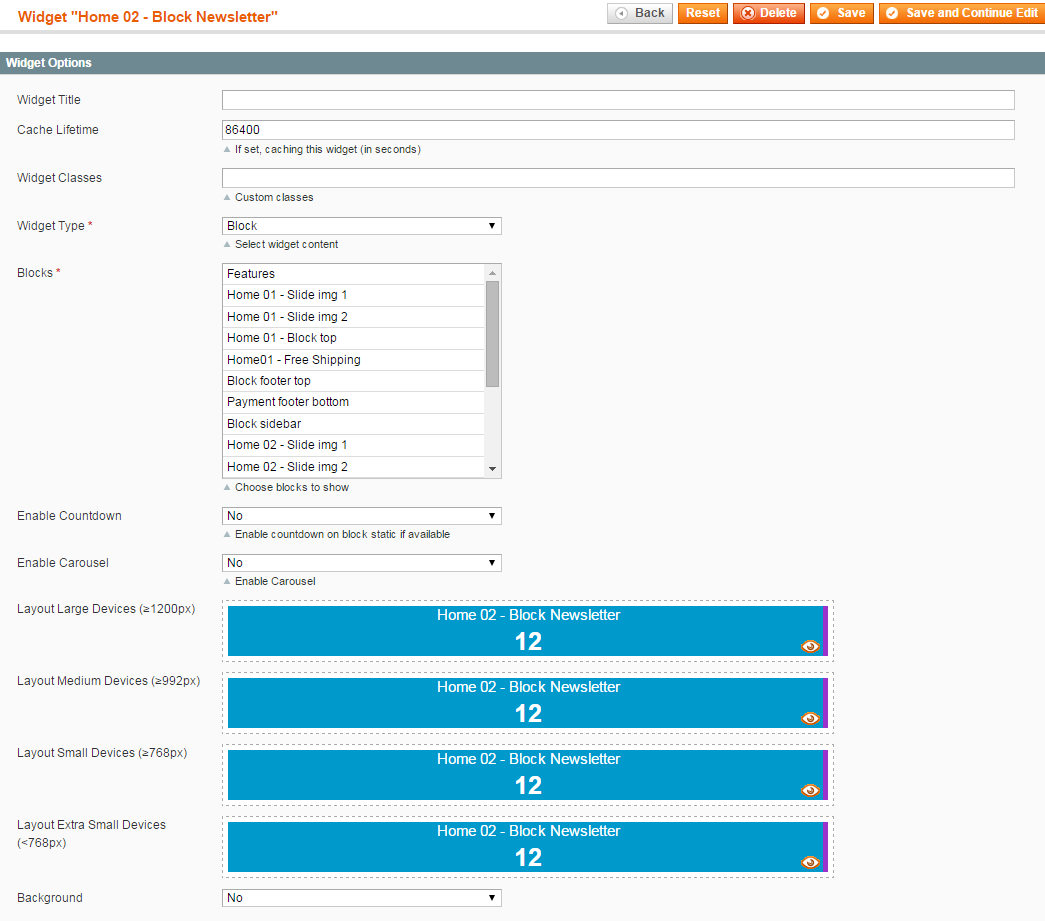
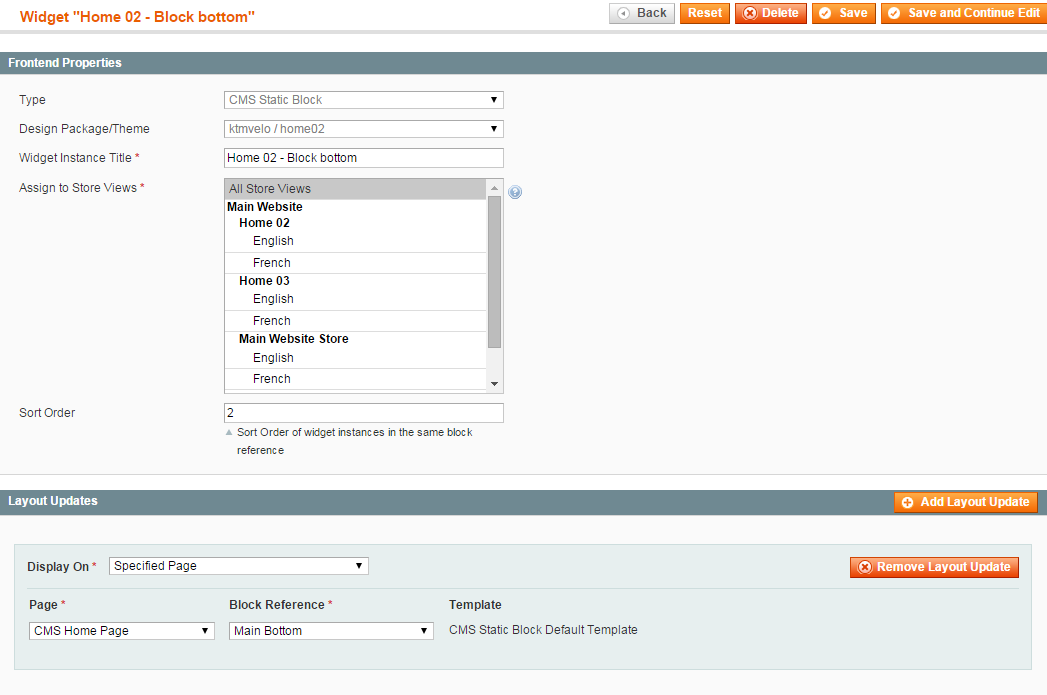
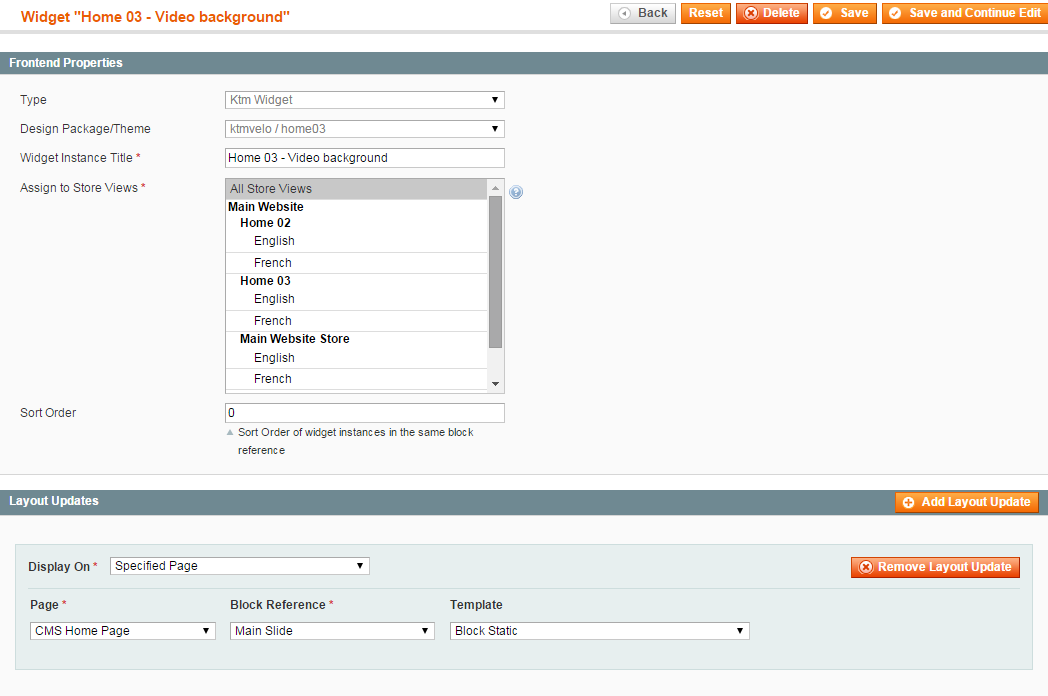
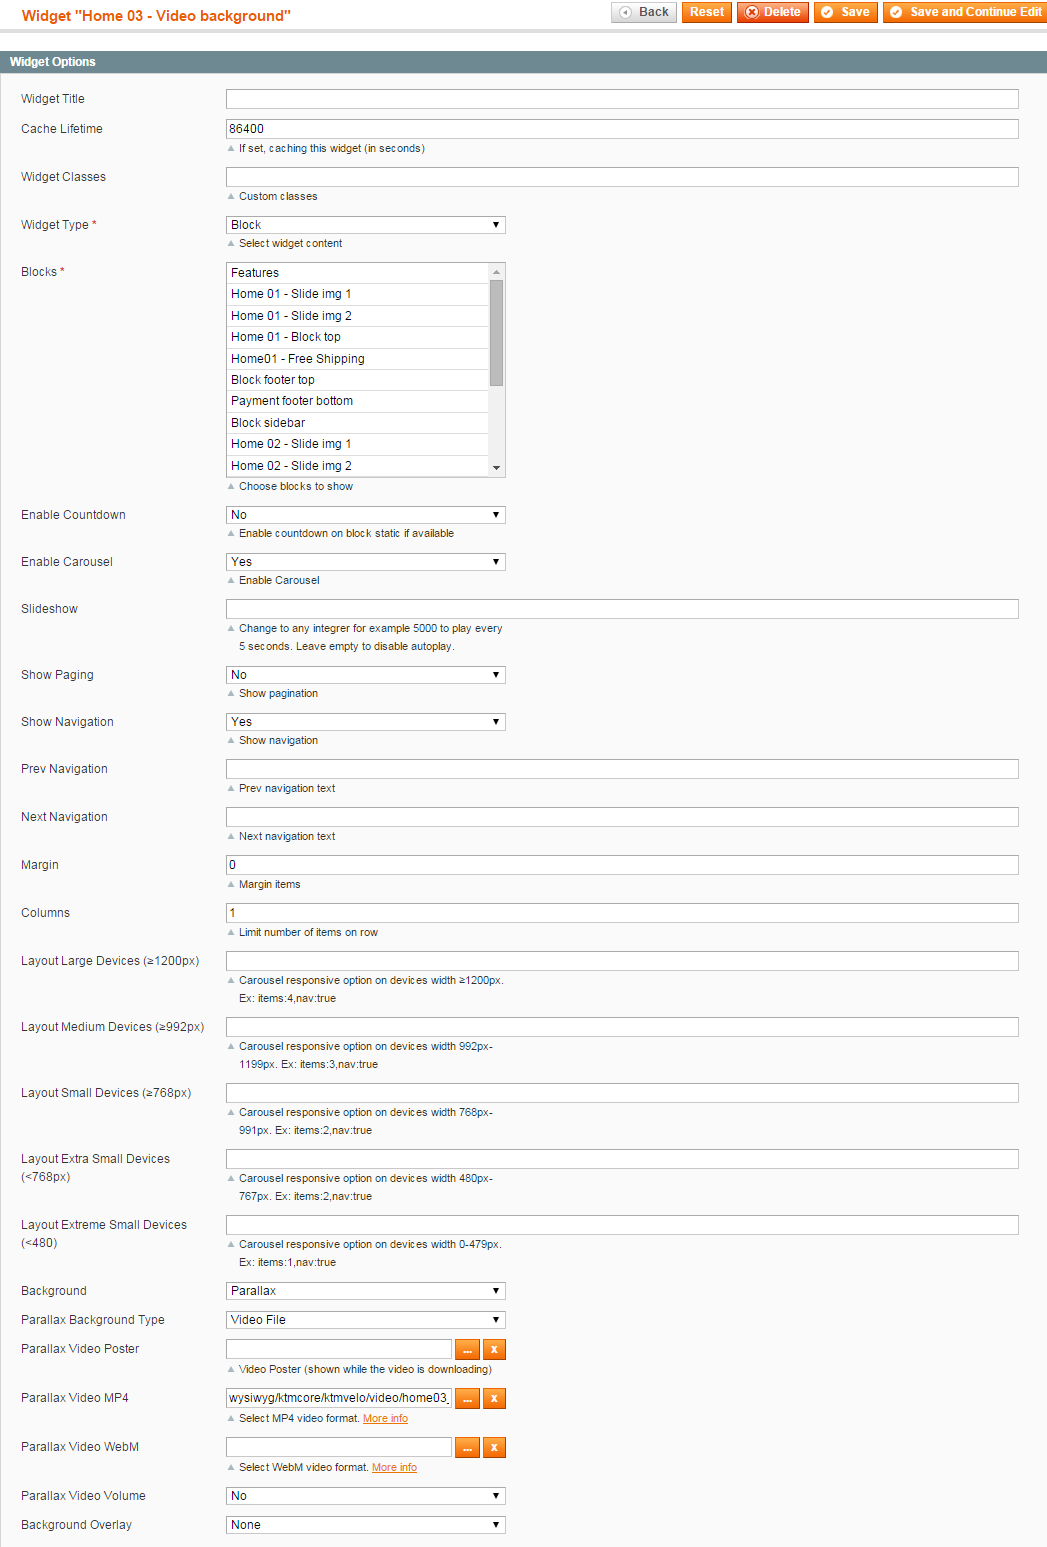
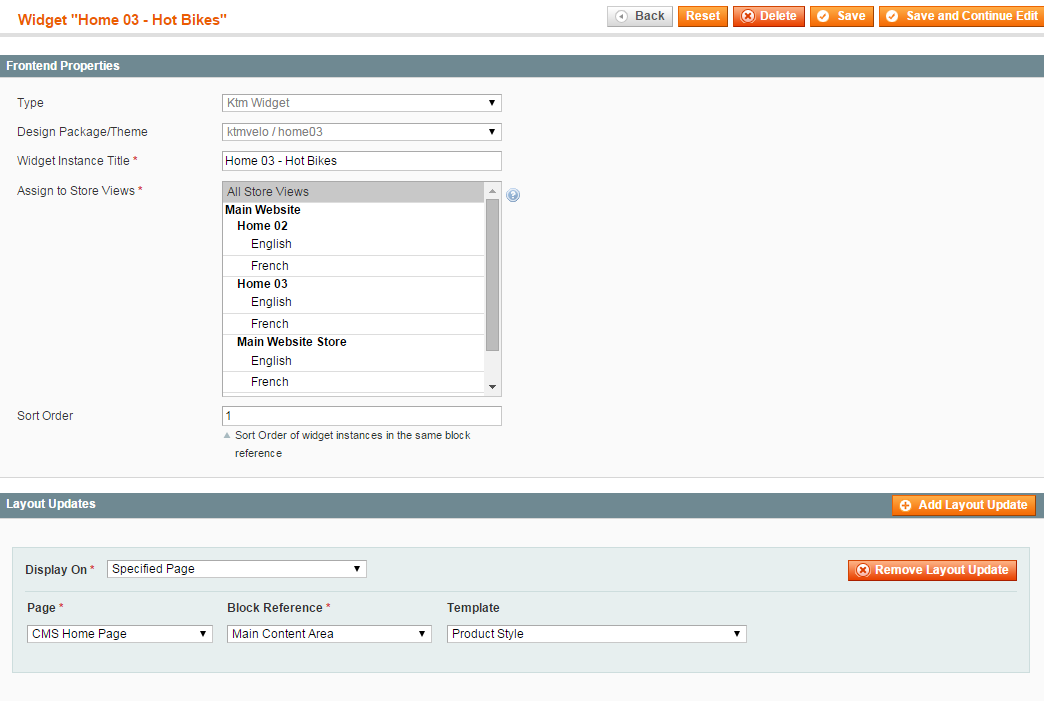
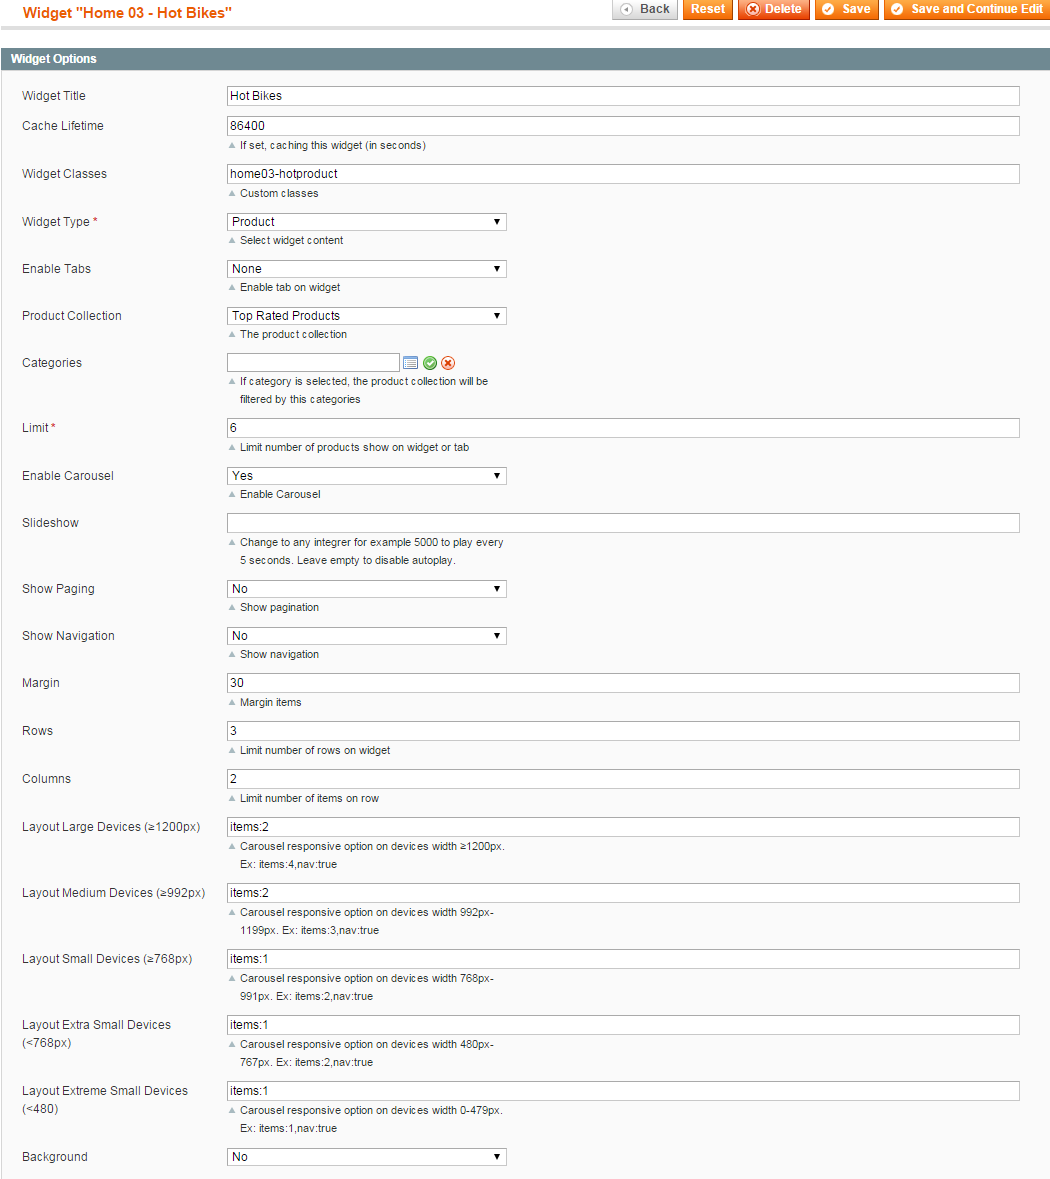
To manage Widgets, go to CMS >>> Widgets section in the admin panel.

To import Widget, you navigate KtmCore >>> KtmVelo >>> Ktm Settings >>> Theme Installation, click to button to create Widget provided with this theme

For more details on import widgets please see CMS Widgets section

